
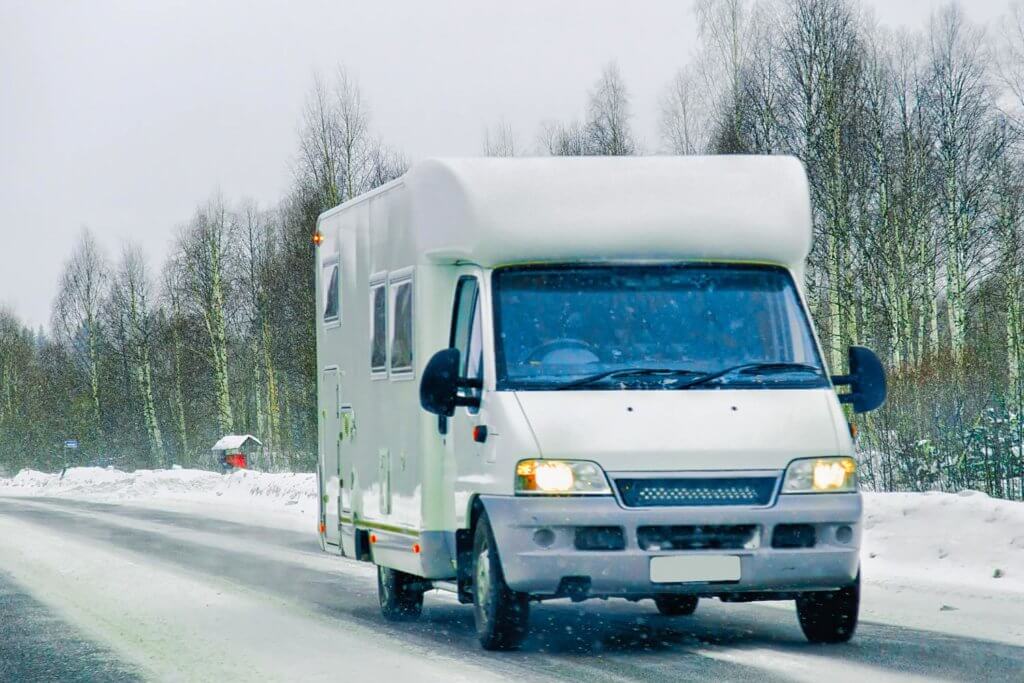
As the winter season approaches, it’s time to start thinking about how to protect and prepare your trusty companion for the colder months ahead. Winterizing your camper van is crucial to ensure its longevity and to keep it in optimal condition for your next adventure.
Whether you plan on embarking on winter travel or simply need to store your camper van safely during the colder months, this comprehensive guide will provide you with the knowledge and tools you need to make sure your camper van is ready for whatever winter throws at it.
What is Winterizing?
Winterizing is when you prepare your camper van for snow, ice, and freezing temperatures by draining water tanks, insulating pipes, and storing your battery.
Why Winterizing Your Camper Van is Important
Winterizing your camper van is not just a matter of convenience; it is essential for the longevity and performance of your vehicle. Cold temperatures, freezing conditions, and other winter hazards can cause significant damage if your camper van is not properly prepared.
By taking the time to winterize your camper van, you can prevent costly repairs and ensure that your vehicle is in top shape when the warmer months roll around again.
One of the main reasons why winterizing your camper van is important is to protect the plumbing system.
Water expands when it freezes, and if there is any water left in your plumbing system, it can cause pipes to burst or fittings to crack. This can lead to leaks, water damage, and costly repairs.
There are a few other reasons why you should winterize your camper van even if you plan on traveling during the winter months
- Protect the plumbing
- Preserve the exterior paint
- Keep your tires from dry rotting
- Repel bugs and mice from wreaking havoc on the interior
- Preserve your battery
Winter Travel Vs. Winter Storage – Considerations and Preparations
Before you start winterizing your camper van, it’s important to consider whether you plan on embarking on winter travel or if you simply need to store your camper van safely during the colder months. The level of preparation and winterization required may vary depending on your intended use.
Let’s start with steps for Winterizing if You are Going to Use Your Van Through the Winter.
Steps for Winterizing a Camper Van You Will Use Through The Winter
If you plan on traveling during the winter, there are additional considerations and preparations to keep in mind.
Firstly, you’ll need to ensure that your camper van is equipped for cold-weather camping. This includes having the right gear such as a water heater, warm clothing, a camper van heater, and extra blankets.
It’s also important to check the condition of your winter tires and brakes, as winter road conditions can be hazardous. Ensuring that your battery is fully charged and in good condition is crucial to prevent any unexpected breakdowns.
Additionally, stocking up on food and supplies that can withstand cold temperatures is essential for winter travel.
Step 1: Insulating the camper van
You actually need to insulate your camper van long before you think about winterization. Insulation is essential during the summer months as well as the winter months. See our full guide on camper van insulation.
Insulating your camper van is essential to keep the interior temperature stable and protect it from cold weather.
Proper insulation will not only make your camper van more comfortable during winter trips but also prevent damage to the furnishings and appliances.
Step 2: Winterizing the plumbing system
You don’t necessarily need to winterize your plumbing if your camper van is in use. However, you may need to wrap exposed pipes or tanks located on the outside of your camper van.
Believe me, you don’t want to be out and have your pipes freeze, not only will your water flow stop, but your pipes could crack due to freezing weather.
You can wrap your pipes in insulation, heat tape, or both. Also, consider exposed tanks of water that may be located under your van. You will want to insulate that as well.
Step 3: Preparing the tires and brakes for winter conditions
Before hitting the road in winter conditions, it’s important to check the condition of your tires and brakes.
Here’s a list of things to check on your tires and brakes:
- Inspect tread depth, and replace any that don’t meet requirements.
- Check tire pressure, as cold weather can cause tire pressure to drop.
- Check for signs of damage or punctures.
- Have your brake pads, discs, and calipers inspected by a professional, and replace any worn-out components.
If you are in extremely cold and snowy areas, it’s best to switch your regular tires out for snow tires. Don’t forget the snow chains for your camper van tires, these items are perfect for getting you out of and through deep snow.
Step 4: Check the Battery
The battery is an essential component of your camper van, and it’s important to check and maintain it during the winter season. Cold temperatures can reduce the battery’s efficiency and make it harder to start your vehicle.
Start by checking the battery’s terminals for any signs of corrosion. If you notice any corrosion, clean the terminals with a mixture of baking soda and water and a wire brush. Make sure the connections are tight and secure.
Check the battery’s charge level using a voltmeter. A fully charged battery should read around 12.6 volts. If the voltage is significantly lower, it may indicate that the battery needs to be charged or replaced.
Step 5: Have a plan for moisture
You want to do everything you can to prevent moisture in your camper van. We ignored this issue in our first year of living in a camper, and we had mold growth everywhere, that’s why we included it in the winterization steps… it was a disaster!
Here are a few ways to help you prevent condensation from forming:
- Ventilate your van with a fan
- Use a heater that puts out dry heat in your van
- Insulate
- Use a dehumidifier
Steps for Winterizing a Camper Van You Will Store Through The Winter
If you plan on storing your camper van during the winter, there are specific steps you need to take to protect your vehicle.
Finding a suitable storage location is the first step. Look for a covered or indoor storage facility, as this will provide the best protection against the elements.
Step 1: Clean out your camper van
Before storing your camper van, it’s important to thoroughly clean the interior and exterior, removing any dirt, debris, or food that could attract pests.
Step 2: Winterizing the plumbing system
One of the most important aspects of winterizing your camper van is taking care of the plumbing system, especially when it’s not in use. Freezing temperatures can cause water to expand, leading to burst pipes and fittings.
- Start by draining all the water from your fresh water tank, water heater, and any other water containers.
- Open all the faucets, including the shower and toilet, to allow any remaining water to drain out.
- use compressed air to blow out residual water from the plumbing lines. This will ensure that there is no water left in the system that can freeze and cause damage.
Do you need antifreeze for your camper van plumbing?
After blowing out the water, it’s important to add a non-toxic antifreeze to the plumbing system to further protect it from freezing. Use RV-specific antifreeze and follow the manufacturer’s instructions for the correct amount to use.
Pour the antifreeze into the drains, toilet bowl, and any other points where water flows. This will create a protective barrier and prevent any remaining water from freezing.
Step 3: Insulating the camper van
Even if your camper van sits for the winter season, insulation is super important for condensation reasons. Condensation can wreak havoc in a van causing mold and rust to form.
So when I say insulating is important, I MEAN it!
Step 4: Protecting the exterior of the camper van
Winter weather conditions can be harsh on the exterior of your camper van, causing damage such as rust, corrosion, and paint degradation. Taking winterizing steps to protect the exterior will help maintain its appearance and prolong its lifespan.
Before the winter season begins, thoroughly clean the exterior of your camper van to remove any dirt, grime, or road salt.
Use a mild detergent and a soft brush or sponge to avoid scratching the paint. Once the camper van is clean, apply a protective wax or sealant to create a barrier against moisture and salt.
To protect the tires from freezing and cracking, it’s important to cover them or park your camper van on blocks to relieve the weight and pressure. This will also help prevent flat spots from developing on the tires during long periods of storage.
Applying a tire protectant or dressing can further protect the tires from the elements.
Step 5: Store the Battery
Some people store their camper van battery, others leave it in their van throughout the winter. Let me tell you why you should store it
If you plan on storing your camper van during the winter, it’s recommended to remove the battery and store it in a warm and dry location to prevent it from freezing.
To maintain the battery’s charge during storage, you can use a battery maintainer or trickle charger. These devices provide a low-level charge to keep the battery topped up without overcharging. Follow the manufacturer’s instructions for proper usage.
Step 6: Check for Drafts
It’s important to check your van over for drafts to prevent water and cold air from seeping in. Here is how you can catch areas that need to be patched:
- Start at the windows, and check the gaskets or lining around the windows to make sure there are no leaks.
- Next, check the ceiling, this includes any fans or A/C units you have installed. Again check that everything is sealed and won’t leak air or water.
- Check the doors to make sure they close all the way. If any of the gaskets have wear and tear, replace them. Make sure the doors fully latch shut.
Winter cleaning and maintenance checklist

Proper cleaning and maintenance are essential for keeping your camper van in top shape during the winter season. Here’s a winterization checklist to help you stay organized:
- Thoroughly clean the interior and exterior of your camper van, removing any dirt, grime, or road salt.
- Empty and clean the water tanks and plumbing system to prevent damage or odors during storage.
- Inspect the roof for any signs of damage or leaks and repair as necessary.
- Check the seals around windows, doors, and vents and replace any damaged or worn-out seals.
- Apply a protective wax or sealant to the exterior to create a barrier against moisture and salt.
- Cover the tires or park the camper van on blocks to prevent freezing, cracking, or flat spots.
- Check the tread depth and pressure of the tires and replace or inflate them as needed.
- Inspect the brakes and replace any worn-out components.
- Check the battery’s terminals for corrosion and clean if necessary.
- Check the battery’s charge level and use a maintainer or trickle charger during storage.
By following this checklist, you can ensure that your camper van is in optimal condition and ready for winter travel or storage.
Finding professional help for winterization
If you’re unsure about the camper van winterization process or don’t have the necessary tools and equipment, it’s always a good idea to seek professional help. There are many RV service centers and dealerships that offer winterization services.
A professional technician will have the expertise and experience to properly winterize your camper van, ensuring that all the necessary steps are taken to protect your vehicle. They will also have access to specialized tools and equipment to make the process more efficient and effective.
While hiring a professional may incur additional costs, it can provide peace of mind knowing that your camper van is in capable hands. It also saves you time and effort, allowing you to focus on other aspects of your winter travel or storage preparations.
Conclusion
Winterizing your camper van is a crucial step to ensure its longevity and performance during the colder months. By following the expert advice and tips provided in this comprehensive guide, you can confidently prepare your camper van for winter travel or storage.
